Thursday, December 16, 2010

Orange Circles

A couple of years ago, Christmas found us living in the Alaskan bush, without any of our christmas tree ornaments. We made several things, among them orange circles. (You can see the homemade tree here.) They make nice tree ornaments, but where orange circles really hit their stride is as suncatchers! We like to hang them in the window around Winter Solstice.

This is just one orange, spread across a south-facing window
The process is very simple:
 Slice an orange (or more than one) across sideways. Discard the very top and bottom parts, since the sun won't shine though them. I made my slices about 1/4 inch thick. Avoid making any extra slits in the peel of the orange, as the peel is the only part that stays very strong, and if it's broken the whole thing may fall apart!
Lay out the oranges on a cookie sheet, baking stone, or pizza rack, and put them in the oven on low (200*F or lower) OR put them in a dehydrator.
Sprinkle them with cinnamon, cinnamon-sugar, cloves, or whatever spices strike your fancy (if desired--it will not change the look really, but will enhance the smell).
Dry them for a couple of hours--just check in on them every 20-30 min after the first hour and see if they look dried out yet.
Take a needle and thread, and poke through the orange flesh just inside the skin (you can catch the white membrane, or just go through the orange pips near the edge), and make a loop of thread. I use a double thread, so the final loop is actually 4 strands.
Use short loops to hang them on the tree, or longer ones to hang in a window... I just use thumbtacks to pin the thread loops to the window frame.
Enjoy!


Of course, it's only fair to mention that if you have little ones (my son is 1), they may steal from you while you're working, and put the orange to a more traditional use...

Sunday, November 28, 2010

Cloth Advent Chain Tutorial

It started with this idea, but I adapted it and did it my own way.


Materials needed:
around a yard of fabric, (or half yard of each of two fabrics), or lots of scraps.
velcro or snaps for closures
interfacing (optional, but better with it)

Skills needed: 
cutting a straight line
sewing a straight line


1--Choose your fabrics. I used lots of leftover scraps, so I just divided them into 'reds' and 'greens' however you can do something more than that if you like. If you celebrate St Nicholas Day on Dec 6, then find a fabric that fits (Santa, an angel, religious symbol, etc). If you observe Solstice, perhaps choose a fabric with sunshines. If any of your family members have birthdays during December, make a birthday fabric ring. Our wedding anniversary is in December, so next year I plan to put in a fabric with hearts for that day (I didn't think of it early enough to get it done for this year). I also made a few extra links of an autumnal fabric, which I can use for the last few days of November (since we like to start our Christmas countdown right after Thanksgiving.

2--Cut out the rings. I used the extremely elaborate pattern of an envelope. A regular, legal-size (4x9") envelope. For the 25 days of December, you'll need 12 of one color and 13 of the other color (plus any November links you want, and minus any special other day links you want).

3-- If you want the rings to look nice and crisp, iron on (or sew on) interfacing to the wrong (back) side each piece at this point. I didn't do it because I was building these with a "use what is on hand" mentality, but they would look nicer if I'd done the interfacing.
(Press over seam allowances if desired--see note at step 6)

4--Fold each piece in half lengthwise, right sides together, and sew the ends closed. Use about 1/4" seam allowance (the edge of the presser foot) and then you won't have to trim them. Be sure to backtack at the fabric edges. I recommend just sewing one right after the other, without breaking the thread between. It saves thread, but it also is a lot less work than doing each one separately.


5--Cut apart all the links. Trim the corners of the seam allowances on the folded side of the fabric (no need on the open side). If you don't do interfacing, you can get away with skipping the trimming.


6--Turn each piece right-side-out. Tuck in the raw edges, and topstitch the link closed along that side (again I recommend sewing one after the other, without breaking thread between. You may want to use different colors of thread for different colors of fabric, as this topstitching will show.
Note ~ If you're a somewhat experienced sewer, you can just freehand this. If you're nervous about keeping even-sized seams though, you can iron the seam allowances over back between steps 3 and 4.


So here are a whole bunch of links. If you're smart, you'll iron them at this point. Lazy me didn't...but I should have...


7--Attach the closures. The tutorial I linked at the beginning demonstrates velcro, I used snaps because I have a snap press (or you could handsew snaps or buttons). The type of closure can be whatever you like, the important thing is to remember to make sure that the two sides are faced opposite directions, so that they will meet up in a pretty loop.
8--The next thing to do is get them in order. If you just have one fabric, or two that are alternating, then the ordering is simple. If you are putting in special links, or if you're using scraps like I did, then you'll want to lay out your links and figure out the order.


9--You can put numbers on them if you like. This tutorial for a more traditional advent calender has directions for making nice embroidered numbers. You can also use a fabric pen, applique on the numbers, or leave the chain without numbers. I opted to make little tags, which I can hang to the inside or outside.


Happy Counting! 
(and when the baby yanks on this chain, it doesn't break!)

Sunday, August 22, 2010

Banana Bottoms on Etsy

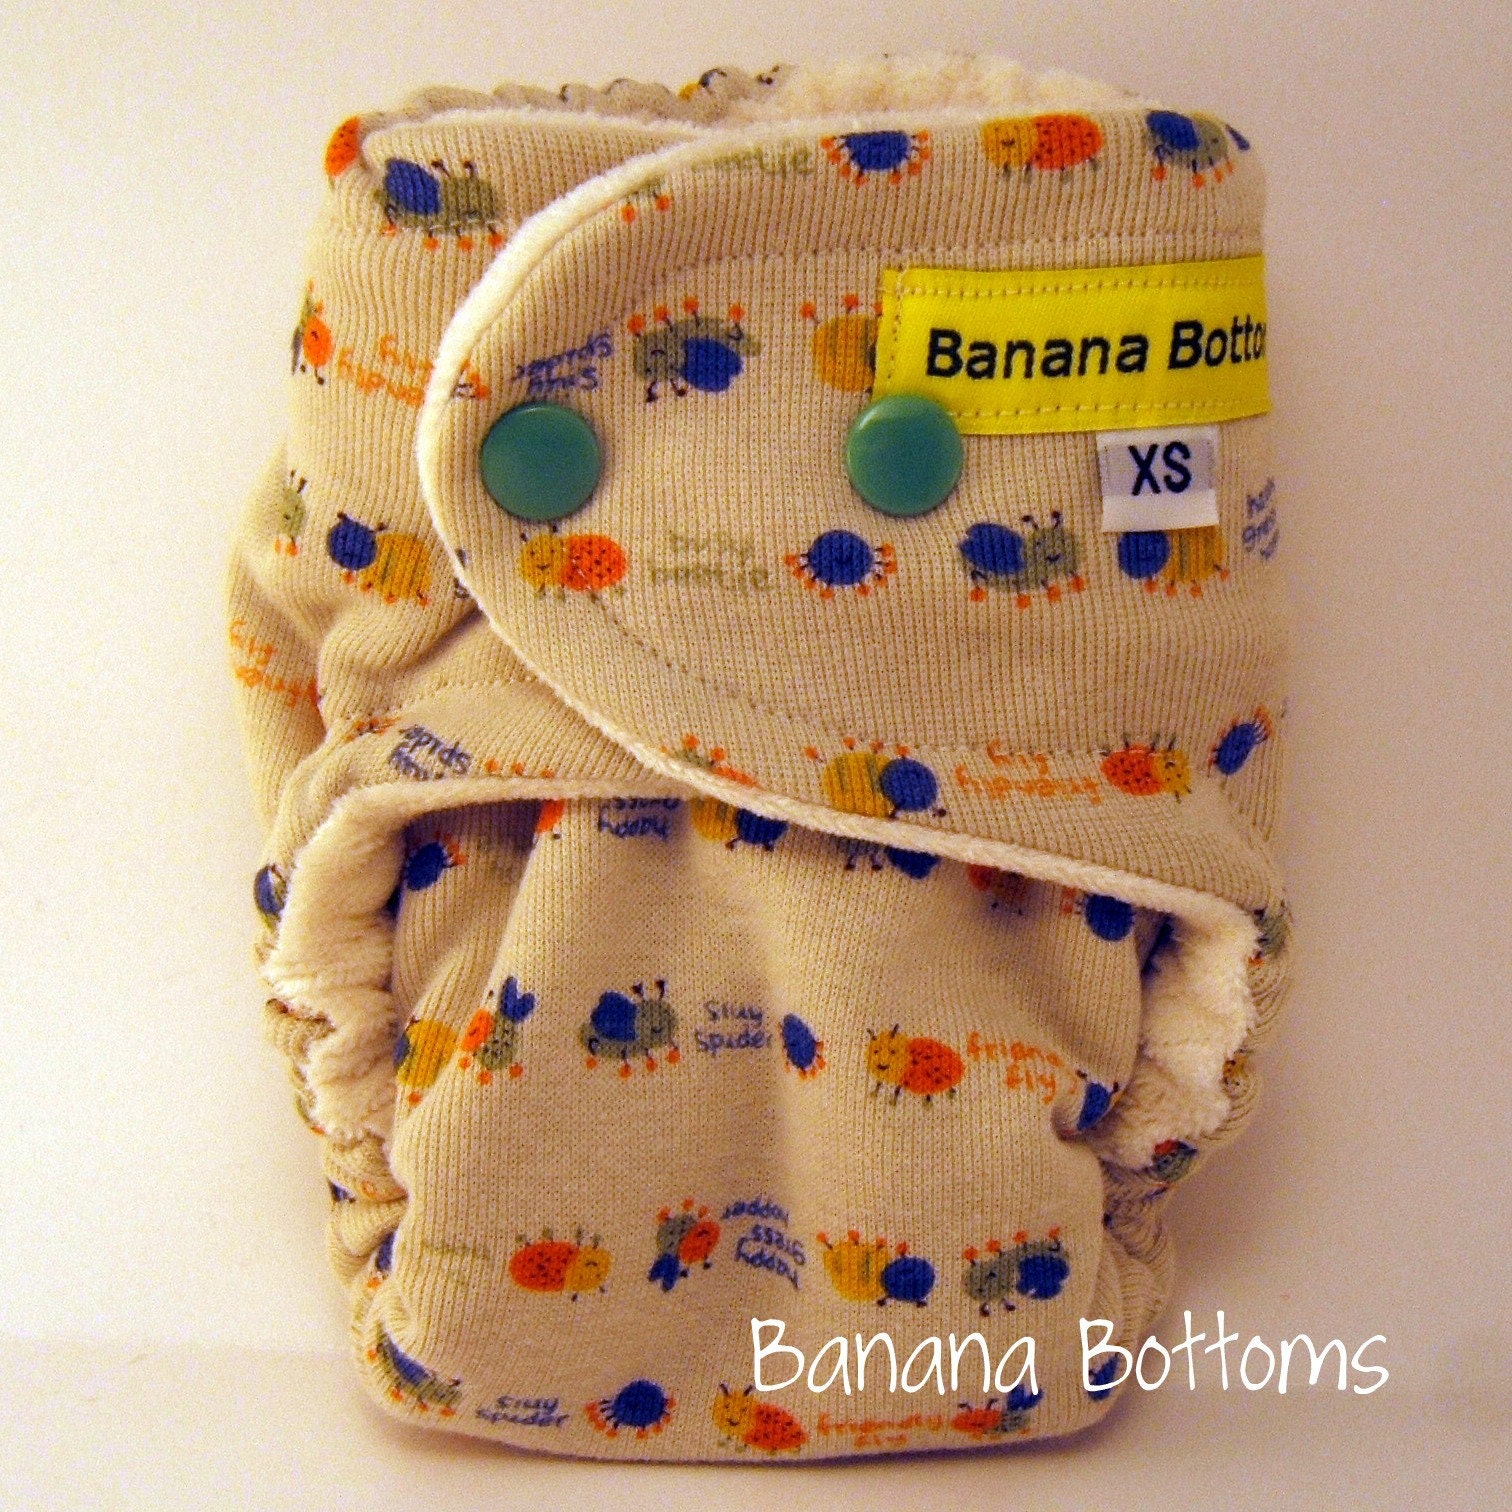
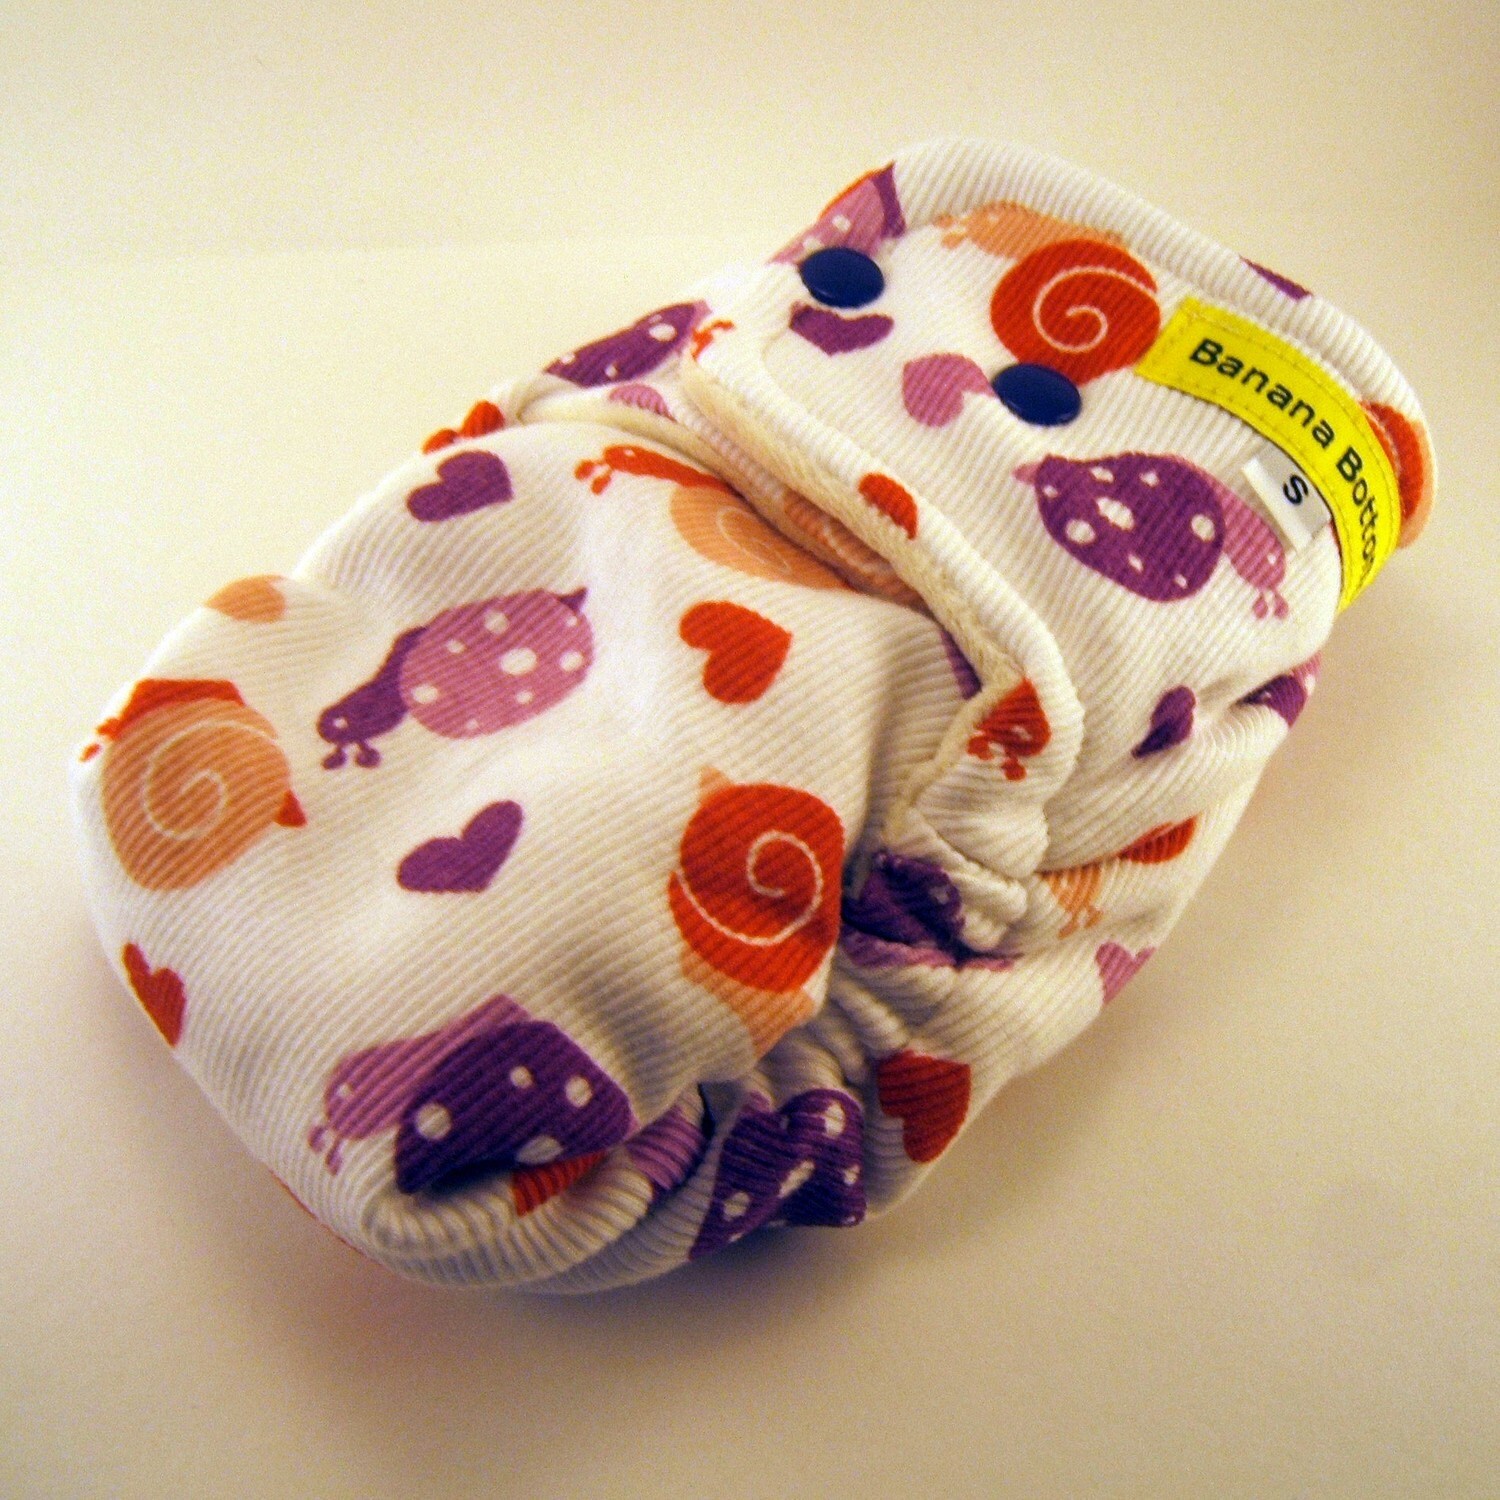
Kristen of Banana Bottoms is a fellow member of the Etsy Cloth Diaper Team, and she asked if I'd be willing to do a review and host a giveaway for her. (Official disclaimer, I did get a free diaper out of it.) I jumped at the chance because I traded her for another diaper a few months ago, and it's a great diaper. ☺


My favorite things about Banana Bottoms diapers:
♥ They are very trim. The photos should give you some idea of this.
♥ The double-layer snap-in doubler is nice and trim, but gives a LOT of absorbency. These are trust-them-for-naps-and-overnights kinds of diapers. That's a rare thing to find in a diaper this trim!

♥ Cuteness factor, of course--lots of cute prints!
♥ Comfort factor--all the diapers have bamboo velour inside (which is just astoundingly soft). I also love that every diaper is turned and topstiched--no serged edges to rub or irritate (this is how I make my own diapers, if that gives you an idea of how much superior I think it is).
♥ One of my favorite features is that the snap placement is closer than on most diapers I've seen--3/4 inch rather than 1inch apart). This gives greater adjustability than the wider placements do. Also the first snap on the wing is right at the edge--no wasted space there.
♥ A second thing about the snap placement is the way she does her crossover snaps--the wing snaps are double spaced (so they snap down with one 'empty' snap socket between them) and that means that they overlap smoothly. I'd only seen this once before and I LOVE it.

In fairness, I will mention the one downside (and it only applies to those in the USA) and that is that Banana Bottoms is based in Canada, so the shipping time can be a little slow because of customs. I think the wait is worth it though. ♥ ☺


Now for the GIVEAWAY!!!
It's being hosted over on my main blog--open Aug 23-29, go here to enter!!

Monday, August 2, 2010

Don't miss it...

The giveaway over at EtsyClothDiapers is almost over...just two days left. If you haven't been over to make your entries then hurry up!

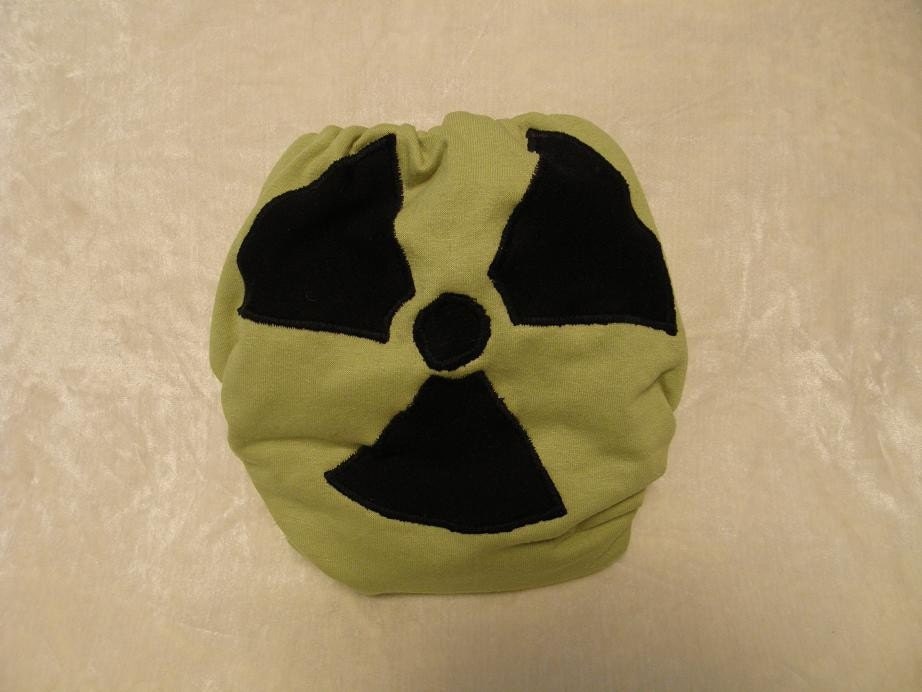
Since the mandatory entry was to visit the shop and name a favorite item, I thought that people's comments would give me an idea of what people liked best--and what I should make more of. Well, I've read them, and what I am finding is that everybody likes something different. I'm pretty sure that every single diaper in my shop has been mentioned at least once. My one-of-a-kind designer diapers do seem to get more mentions than the others, and interestingly enough my biohazard diaper has gotten several mentions (I consider this interesting because I actually made it over a year ago, and have had it as a featured item in my shop for much of that time, but in spite of over 400 views it has not sold.)


In any case, the designer fitted diapers seem popular, so I will get busy and finish up the two I have in progress. ☺

Thursday, July 29, 2010

My Cloth Diaper History

My mom used cloth diapers. Here you can see me (with my mom, little sister, and my dolly Polly), and there is my cloth diaper.


They were the big cotton flats, 36inches square, layered two or three thick then folded into a trapeziodal shape and pinned on with four pins (one at each hip, one at each leg), and covered with good old gerber plastic pants. They were very bulky. They were all white, and were always soaked in bleach water until laundry day.
I am the oldest of 9 kids, and all of us wore those same cloth diapers (or the same kind at least!), so as you can imagine I had to learn how to change diapers pretty early on. I think I was about 7 when I learned to change a diaper. I had to learn to do it because our babysitters couldn't figure out how to handle the pins. To the best of my memory, I only poked a baby once, but I poked myself a few times.
I hated the pins, I hated the bleach, I hated how bulky they were, I hated the stinky sopping wet diapers (and the idea of the baby feeling wet all the time). I swore I would never ever use cloth diapers.

When I was a newlywed I met some mamas who used new cloth--I think a FuzziBunz may have been my introduction to things like PUL and shaped diapers with elastic (elastic!!! How brilliant!) I thought they were pretty cool--and pretty cute. I saw how trim they were, and the fact that they were all one piece rather than needing those awful plastic pants.
Around the same time I started using cloth pads for myself, and the difference in comfort between cloth and the paper/plastic disposable pads was enormous. It made me consider cloth for the pure comfort of it.
When I was pregnant, I started researching cloth diapers. I learned about dry pails and I was sold. One day I approached my husband about it, and he said "well, let's be honest, you'll probably do most of the changing anyway [since I was a stay-at-home-mom and he worked full time], so if you want to do it let's go for it." I read reviews of various brands and started doing price comparisons, and realized that if I was going to buy them I'd pay $15 each for pocket diapers, but that I could make them for $4 each. So I bought fabric and started sewing my own.

I happened to mention to a friend what I was doing, and she commissioned me to make 6 diapers for her. Then she asked if I could do 6 in the next size... Then (after two months of buying disposables) my sister decided to switch to cloth and hired me to make them for her since she doesn't sew. So I opened shop!

Etsy: Your place to buy & sell all things handmade
lilbees.etsy.com

Wednesday, July 28, 2010

Giveaways!!

I am sponsoring the "Fluff a Rump on Hump Day" giveaway over at the Etsy Cloth Diaper Team this week (winner drawn on Aug 4). I'm giving away a custom AIO (all-in-one) diaper, with the winner's choice of fabrics, size, and closure (snaps or touchtape). They can choose from something in stock, or I will make a custom diaper.
You can enter at the team blog (link above), and get extra entries for following that blog, following this blog, liking my facebook page, liking the team facebook page, twittering about the giveaway, or blogging about it! A purchase from my shop during this time will earn you FIVE extra entries, just leave a note to the seller (me) when you check out and I'll get your entries put in!

Keep an eye out, because in a couple of weeks I'll be sponsoring another giveaway at 3am Cloth Diapers, No Pins Needed. She is doing a big "Made in the USA" event, with multiple reviews and giveaways of cloth diapers made by work-at-home-moms in the USA. Check it out! (I'll be sure to let you know when the giveaway goes live, but in the meantime, the same kinds of things that are worth extra entries on the other giveaway will be good for this one too--follow her or my FB page, follow our blogs, twitter, blog, etc). ☺


And after both of those, if my facebook page gets up to enough fans, I'll do a third giveaway there--this time for a gift certificate, which would be good for any item in either of my shops (not just cloth diapers).

Beatles inspired diapers

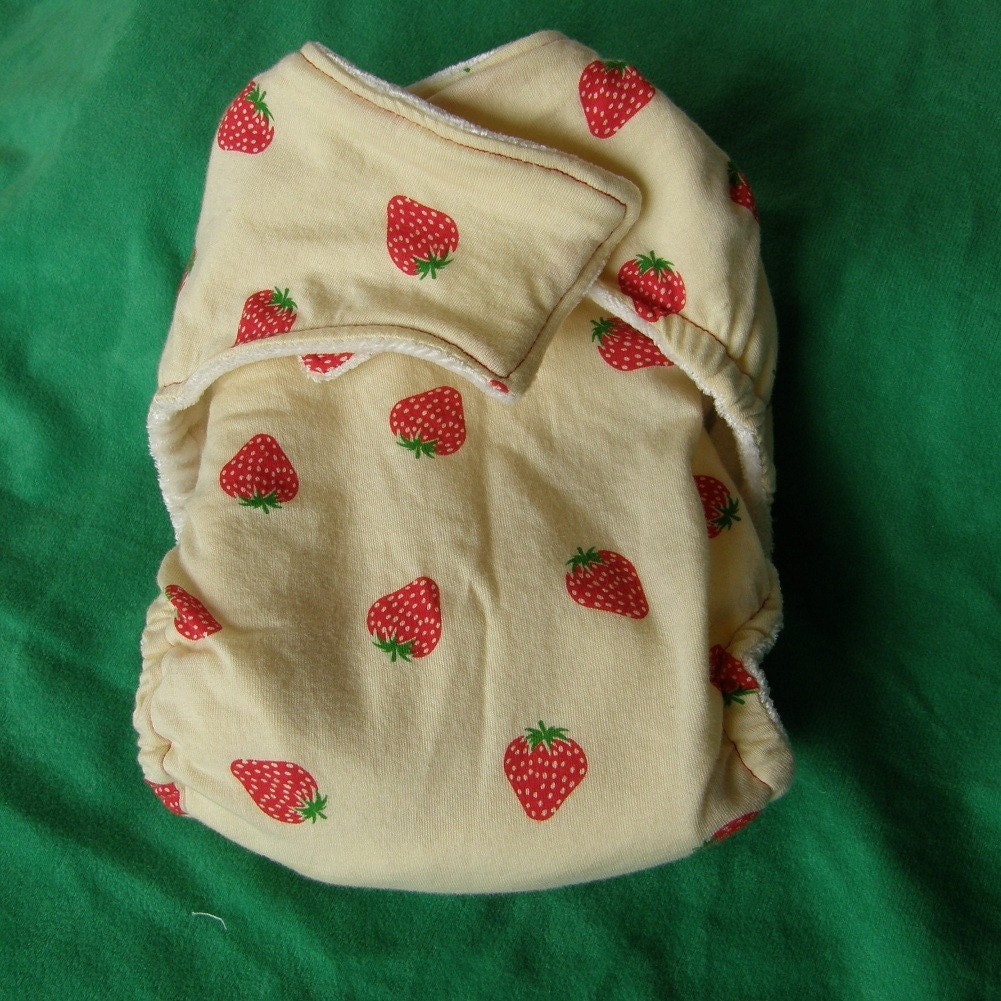
A couple of months ago I made this diaper:

As I looked at it, and tried to decide what to title it in the listing, the thought came to me to call it Strawberry Fields Forever. I admit that I did not know very many Beatles songs before I got married. I knew who the Beatles were of course, but I only knew a few songs, and not well enough to sing along to any of them. Then I met my future husband (who owned every Beatles album) and his three-year-old son (who could sing most of "Hey Jude" even before he knew "Twinkle Twinkle Little Star"). Obviously my life has changed a little since then!
So I decided that a line of Beatles-themed products was in order, and last night I listed the next in the series:


So, the great question is, what other Beatles' songs are begging to be artistically rendered as diapers?!

Thursday, June 3, 2010

Trading Frenzy

I have four (yes FOUR!) trades going on right now.

1) Giving diapers and wetbags ---> from SweethavenArts getting several pairs of knitted socks (she has a sock knitting machine, which may be about the coolest thing I've ever seen!)


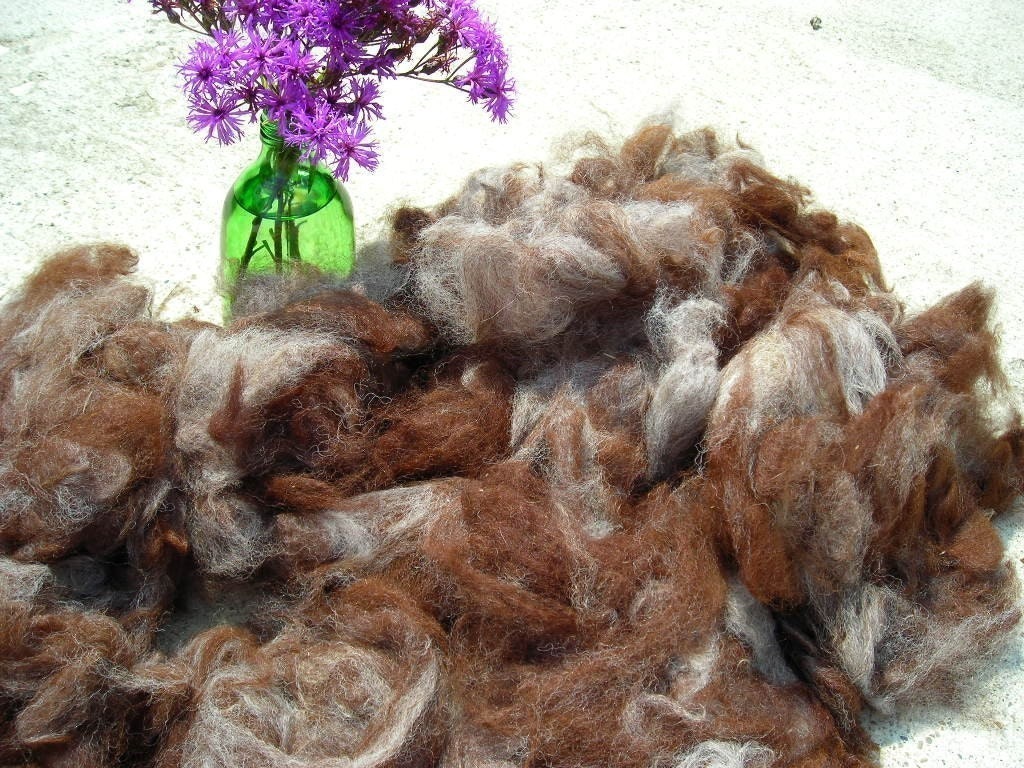
2) Giving nursing pads ---> from SevenAcreWoods getting handmade soap and alpaca fiber (from an appaloosa alpaca named Houdini!)


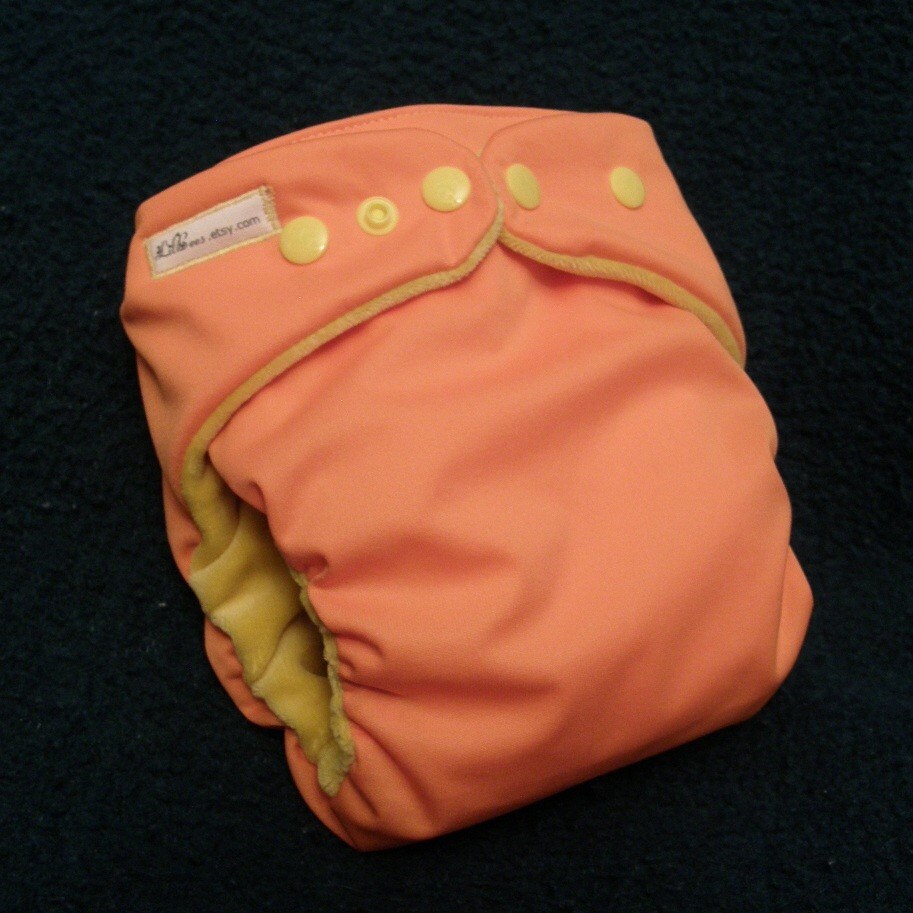
3) Giving a diaper ---> from BananaBottoms getting this diaper (because in a houseful of boys, obviously, I need all things camo!) --------->


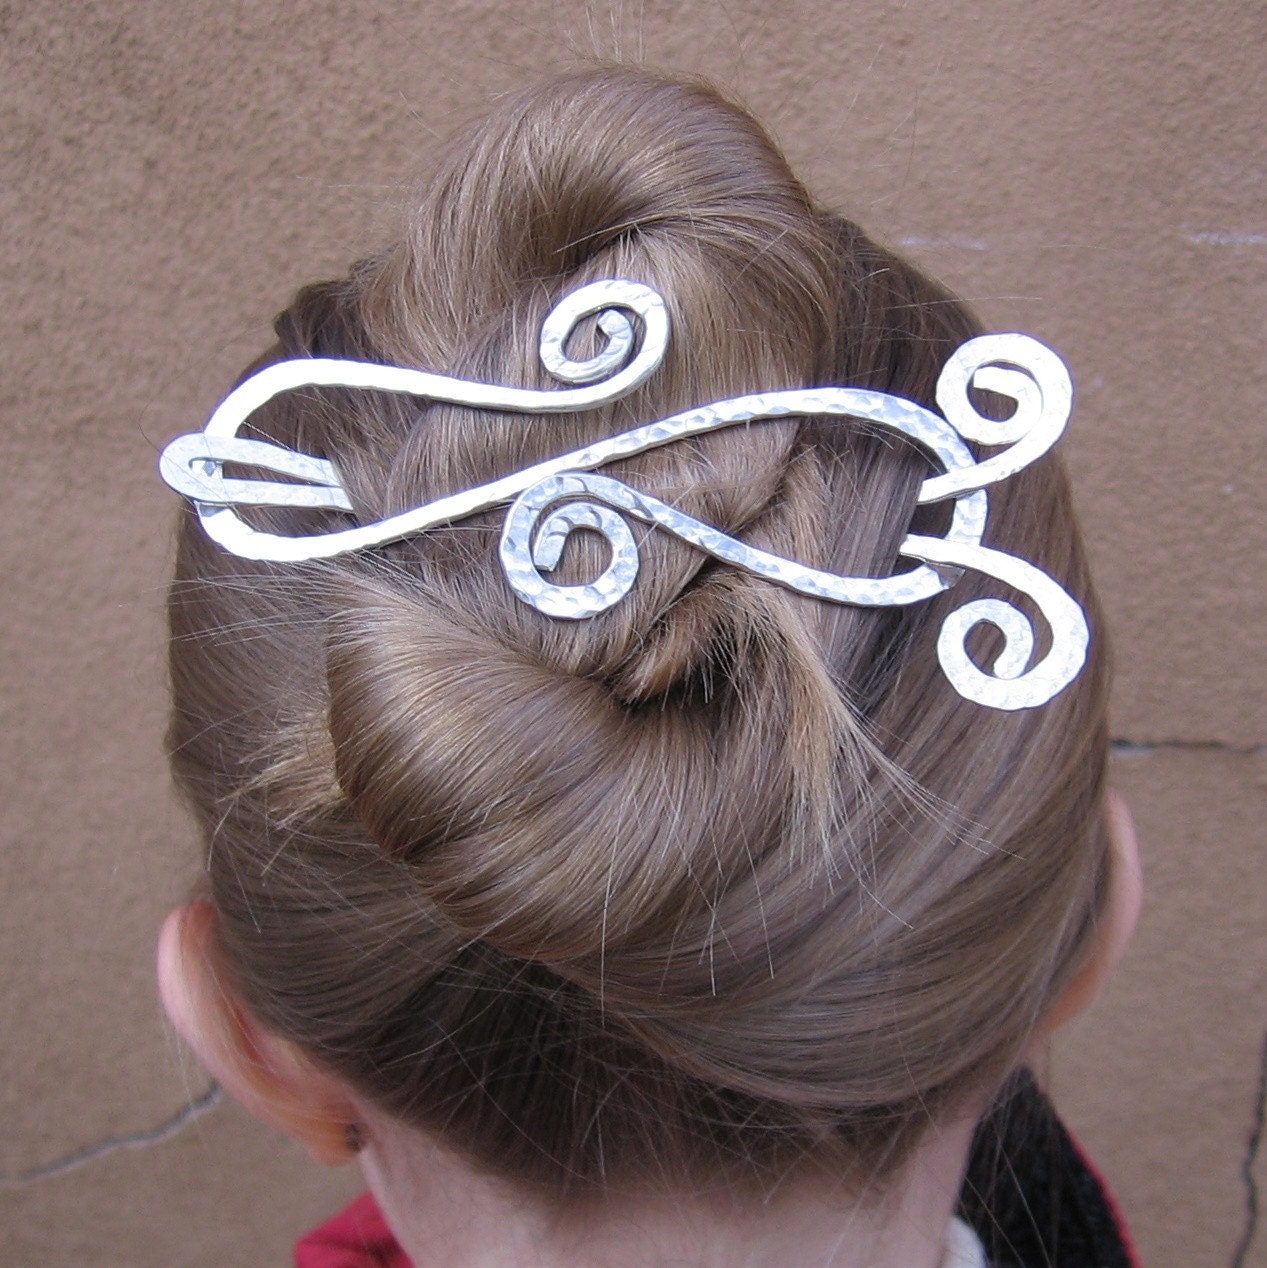
4) Giving diapers, covers, and wetbags --->from Silverstarflower getting earrings and silver hair barrette (my earrings are this style but in silver and with a green stone)

Tuesday, May 25, 2010

Tuesday Tips: Trading on Etsy

A lot of etsians--including myself--like trading. It's fun to swap goods rather than money, and in my view both etsians get a better deal out of a trade than they do from a sale, because there is nothing lost to paypal fees and no 'income' to report, yet you've each gained something you wanted or needed.
When I see an item that I like, I often approach the seller about whether they would be interested in trading. I simply send them a convo and ask. Sometimes they say no, and sometimes they say yes, but no one has ever been rude about it. Sometimes people approach me--and I go and look at their shop and if there's something I like then I trade, and if they don't have anything I want then I say no thanks. Sometimes when I don't trade, a purchase is made (by me or from me), and sometimes it isn't. There is no pressure either way.

Once you have decided to trade, and decided what to trade, there are several ways to carry out the transaction:

A
After agreeing to trade, each person looks through the other shop and selects the item(s) that they want, and then 'buys' them, but does not send any money. (Equal values or specific items are determined via convos.)
Pros:
no paypal fees, leave feedback for each item 'bought' and 'sold,' no editing of listings/making new listings, easy to see if your purchases from each other are equal, and if for some reason the other person falls through you can warn others via negative feedback.
Cons: you still pay full 'sale price' etsy fees in spite of not making any money

B
Agree on the items via convo, exchange mailing addresses via convo, then unlist the items and trade "off the books."
Pros: no fees at all (paypal or etsy).
Cons: no feedback (good or bad) for either of you, no official record of the transaction, may require more convos than method A.

C
Agree on the items via convo, then each edit your listings to create reserved listings for each other (it could be one listing per shop or several). Change the price of the listing(s) to be $0.20, which is etsy's minimum price (it covers the listing price, but will not charge any seller fees). Mark the title of each listing as "reserved for trade with ___" so that no one else swipes it. Then each person buys the appropriate listing(s) but does not send any money.
Pros: have official transaction record including addresses, able to leave feedback (good or bad), no paypal fees, only the listing fee on etsy (no sale price fees)--I figure this is fair because etsy helped us find each other, but we didn't make any money, so I'll pay the listing fee but not a sale fee.
Cons: time and effort to edit listings or make special listings


Personally, my preferred method is C, because I want to have the official transaction and the ability to leave feedback, just in case I get burned I feel that this "covers my tail" so to speak. Also, editing a listing only takes a minute or two, and I like saving the fees. ☺


Have you traded on etsy? Do you use one of these methods or do something else? What do you prefer? (Are there other pros or cons that I missed?)

Monday, April 26, 2010

Custom Solarveil Hats


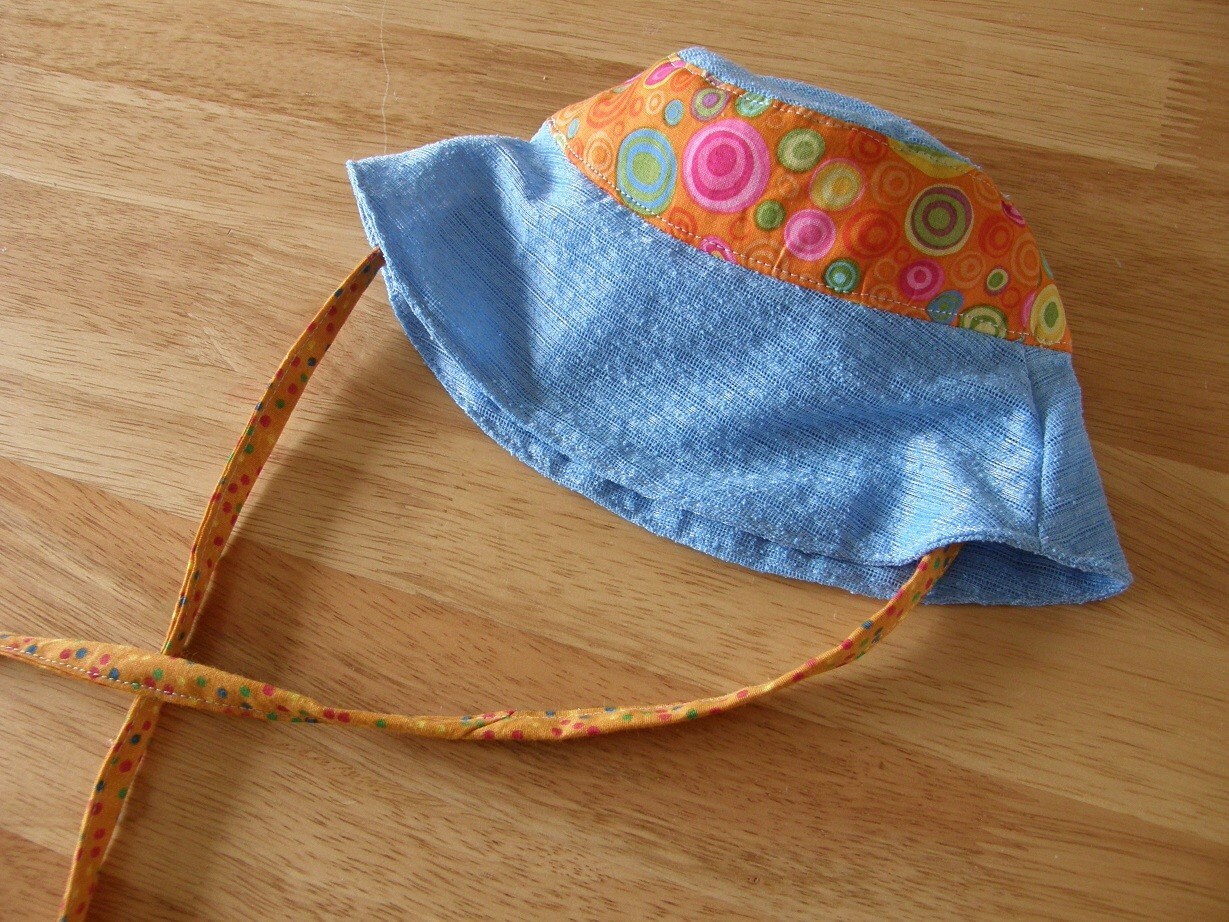
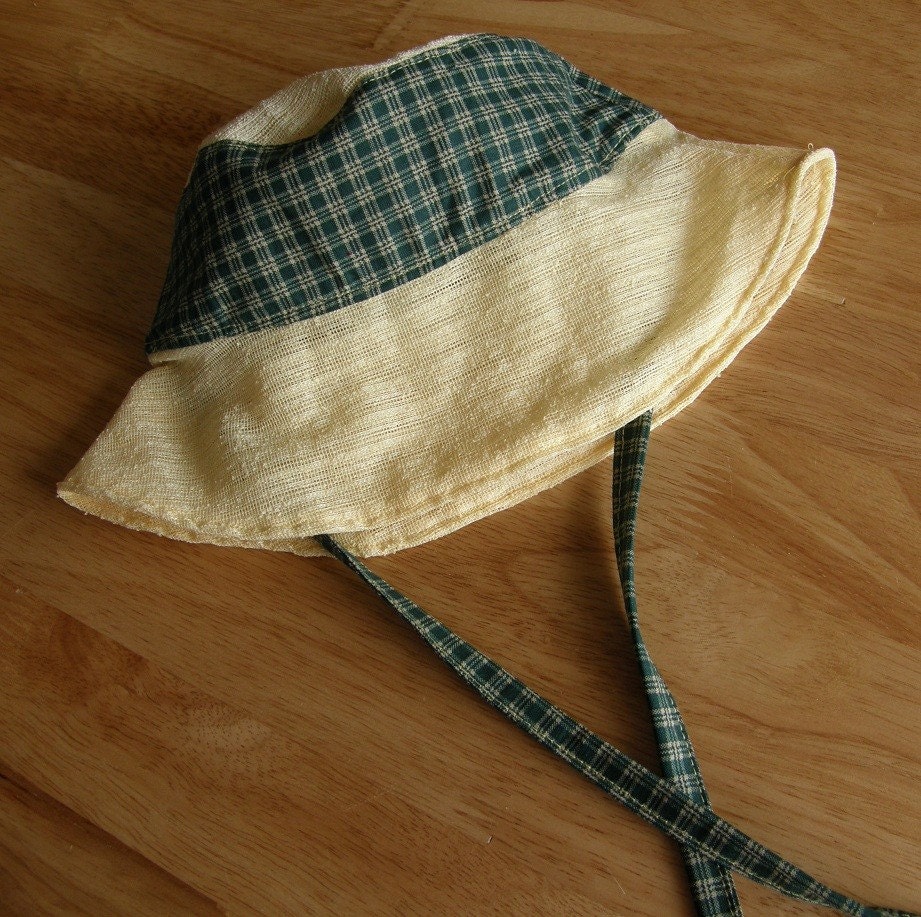
These babies are in demand! I am working on getting more ready-made ones stocked, but in the last three weeks I have had four custom orders for solarveil hats, so I've set up some custom listings that show the fabrics I have available so that people can order directly without having the extra steps of my having to show the photos to everyone individually. (The hat bands are made from scrap fabric mostly, and much of it is already cut out so that I could maximize the available space, so not every print is available in every size.)


In the meantime, I've also started listing plain cotton sun hats, which are a little cheaper.

Tuesday, April 20, 2010

Tuesday Tip: EtsyHacks Greasemonkey addons

Etsy has a lot of nice features, but many of the tech-savvy etsians out there have thought of additional nice features--things like "copy a listing" which allows you to make a new listing, but starting with a copy of an existing one (so you can just edit photos, change the title, etc...or post a second listing for an identical item!).

There is a wide selection of add-ons, available at EtsyHacks.com. In order to use them, you will first need to download and install Greasemonkey (then close and restart Firefox). Then you can intall whichever add-ons you want. Then you'll need to restart again to get them all to install/take effect. It's that simple.
The add-ons are technically free, although EtsyHacks does request that if you like the product, that you consider making a donation. I would second that--these are some nice add-ons that some nice people have taken time to write up and then been kind enough to share with us, it's only fair that we share a little something in return. (And since I can't write a pretty add-on for them to post on their page, money is the way to go!)

These add-ons will only work with Firefox at the present time, however the EtsyHacks page says they are working on making them compatable with Chrome, Safari, Internet Explorer, and Opera, so if you're really attached to one of those browsers just wait a little while and then you can have some of these groovy add-ons too.

Tuesday, March 9, 2010

LePetitOwlet's "Little Owl" Diapers

I recently made a custom order of 3 medium size Little Owls fitted diapers from LePetitOwlet. I have a lot of diapers that I love, but wow, these are definitely my favorites right now.

First of all, just look at the cuteness! Like many sellers, she has a variety of fabrics to choose from for both the inner and outer of these diapers.

Secondly, I love the trim fit. My kids are skinny, and I’ve had trouble with some diaper styles being very bulky, or leaking at the legs. These diapers do not have either of those problems.

Third is my most favorite thing of all—a very very smart snap layout. (More experienced cloth diaperers will probably be able to tell just from the photos, but I’ll try to explain it too.) Most diapers with crossover snaps have the top snaps (studs) facing in at every inch (to match the sockets on the diaper front), and then the crossover sockets are put between them. The downside to this arrangement is that the crossover sockets are then offset from the other sockets, so the diaper gets bunched up if the tab is snapped to one diaper-front socket and one crossover socket. Jessica got smart though and did away with all that hassle. She spaced her wing (stud) snaps to match every other socket, so that the crossover socket is then spaced evenly with the front panel sockets, and there is no bunching or pulling, it all lays nice and flat. Furthermore, the wider placement of the studs means no wing droop (or gaping legs)! I have never seen snaps spaced this way before, but I certainly intend to start doing it with my diapers, because it’s brilliant!

The only thing I can think of that some people might feel as a negative is that the snap-in doubler is attached with only one snap, whereas most other diapers I’ve seen have two. Diapers with snap-in doublers tend to wear faster at the snap points, so fewer snaps could potentially mean a longer life. On the other hand, more snaps might distribute the wear better, so fewer snaps might mean a shorter life…I don’t know! I don’t really have enough experience with snap-in doublers yet to have a preference either way.

Little Owl Fitted Diapers (and the WAHM behind them) definitely get two thumbs up from me!

Friday, February 26, 2010

Lil Bees

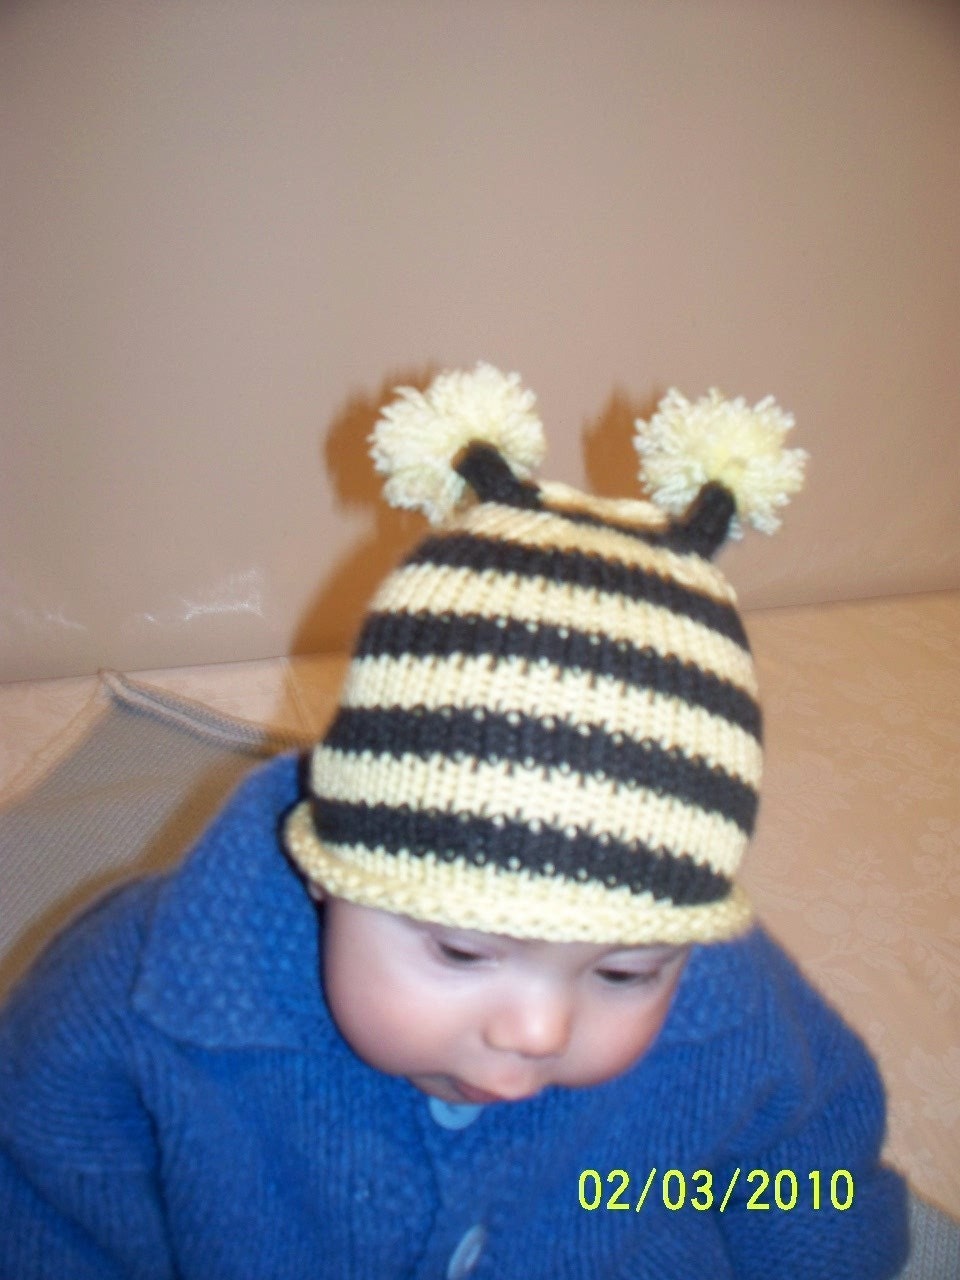
Sooner or later I had to do a treasury of lil bees, and when I saw the first item below I knew this was the time. Every bee item today is either little, or it is for a little one (or both!)

As usual, all item's are linked to the item listings.


(msbinks is a brand new shop--no sales yet--go check it out!)


Friday, February 19, 2010

SublimeThreads boxer briefs

Last spring I bought my oldest son a trio of boxer briefs from SublimeThreads. As many etsians do, she offers custom listings--so I bought a generic "3 boxer briefs sz 18m-8yrs" listing, then selected my fabrics from her flickr page...or rather, I let my 8yo son select the fabrics...guess what he likes?!

Oh yeah, let's hear it for camo!
I can see that they are well made, with non-irritating professionally finished edges. He tells me that these are very comfortable, and based on how often they go through the wash, he seems to be inclined to grab them first if they are in his drawer.
So here are two thumbs up for SublimeThreads' custom boxer briefs!

Tuesday, February 16, 2010

Tuesday Tip: Etsy Pricing Calculator

I posted some time ago with a list of tips about setting prices. One important thing to take into account is that your prices need to cover not just your supplies and profit margin, but also your fees for etsy and paypal. I was just introduced to this Etsy Fee Calculator recently. It works two ways--on one side you can enter the profit you want to make, and it will tell you how much you'll need to charge to make that profit (the fee percentages are already built in). On the other side you can enter what you are paying for materials and shipping, as well as what you are charging for your items (both item price and shipping charge) and it will figure in the other fees and tell you how much you are actually making.
I thought it was very helpful (I was also pleased to find that I have been setting my prices right where they should be to make the profit that I feel is fair for my products!)

Saturday, February 13, 2010

Blueberry stuffable all-in-one diapers

When my first cloth diapered child was a toddler he discovered something cool about velcro--it's easy to undo. As many cloth diapering mothers have learned, snapping diapers are nice for smart toddlers, because it's the only way to keep the diapers ON the kids. Some precocious children figure out how to open snaps too, so some precocious mommy out there figured out to put the snaps on the side of the diaper, where they were harder for the child to see or reach.
As my toddler was learning how to open velcro, I decided that I needed some snapping diapers, but I didn't yet own a snap press, so I decided to buy some. I bought some WAHM diapers on etsy of course, but then I heard about a one-day sale from one of the bigger websites where I could get some side-snapping diapers on sale and with free shipping. Since I live in Alaska and shipping often costs as much as the item itself, I decided to jump on it.
So I bought 4 Blueberry side-snapping stuffable-AIOs.

Here are my thoughts on these diapers:
  • They are super cute
  • They are very trim (see photo below)
  • They are well made--none of the stitching came undone in a year of regular use
  • They have the convenience of an AIO (all-in-one) diaper, but with the opening in the back so that one can add extra stuffing as well. In my experience, the included stuffing was not a whole lot--especially for a toddler just one pee would fill it up, and a second would make it leak. This might have been different for a younger baby of course, but my experience was with a toddler. (If I added an extra insert then they lasted longer, but having to add the extra insert made them basically like pockets...yet they still had the longer dry time of AIOs...) I felt that they were fine for around the house but I didn't like to use one when going out because I didn't know how long it would last.
  • I really liked them for potty-learning because they were easy to get on and off, and their 'one-wet' capacity was fine because we were getting to the toilet most of the time anyway. So ironically my favorite way to use these diapers was as training pants.

Thursday, February 11, 2010

Solarveil Hats

Introducing another new product, this time at BrightBlack: Solarveil Sun Hats for babies and children (click link to see the hat section in the shop, click icon at left to go to shop home)
Solarveil is a lightweight, breathable fabric that provides UV protection, so you get the ease of a hat and the protection of sunscreen, but without sweaty heads, messy lotions, or allergic reactions!

Each hat is made with a double layer of solarveil on the crown and brim, and has a decorative cotton band (a variety of band fabrics are available). I have just stocked a couple so far, but I'll be adding more as the weather warms up!

(baby not included with hat purchase ☺)

Tests on the double layer of solarveil have shown that it blocks 92-95% of harmful UV rays (approximately equal to using SPF 30 sunscreen). Learn more about solarveil and it's unique properties here.

Hat Size Chart:
XXS - up to 17" (43cm) head (about 0-6m)
XS - up to 18.5" (47cm) head (about 6-12m)
Small - up to 20" (51cm) head (usually toddler/preschool age)
I can also make hats to fit a 21" or 22" head via custom order--just convo me!

Wednesday, February 10, 2010

BundlesOfJoy product review

I've decided that I need to start doing something new on this blog--in addition to talking about shops and sellers that I love, I will be posting some reviews of fine etsy products that I've purchased!

Today I'm starting with BundlesOfJoy's fitted diapers and longies. It seems fitting to start with Joy, because my very first etsy purchase was a pair of longies from her three years ago for my last baby! She went on to start the EtsyClothDiapers Team, and so I started to get to know her. Then I moved to Alaska (she's Alaskan as well) and I even got to meet her! We have negotiated a couple of trades and additional sales, and I now have a nice stock of wool longies from her. In addition, we have become good friends, and when my baby was born this fall she sent me a pair of fitted diapers as a gift (really, don't I have the best friends?!)
SO, without further ado, here are my reviews.


Recyled Wool Longies

(Can you see, these brown ones on the right have pockets!!) 
These are sooo soft. Joy says right in her listings that she will "bypass the scratchy wool sweaters and use only the soft ones," and that's exactly right. If she feels the sweater isn't quite soft enough, she lines the longies with lambswool or cashmere! I have felt longies from several other sellers, but honestly I'm not inclined to buy them because nobody has longies as soft as Joy's. They are nice and roomy through the toosh, and built with a crotch gusset to allow free movement. I find that the legs are sometimes a little long on my kiddos, but my kids tend to be all torso with short legs. I just roll over the cuffs for a walker, or leave them down over their toes for a baby (I figure it keeps him toastier than falling-off socks!)

The one thing I have noticed is that the sizing (S/M/L) runs a little different than my diapers--so while my baby is currently moving into medium diapers he still fits the small longies. There is often sizing variance from one diaper maker to another though, so most cloth diaperers are used to checking that. Joy has good sizing information in her listings, so as long as you pay attention you shouldn't have any trouble getting something that fits properly. And you can always convo her with your kiddo's measurements and she will help you figure out which size will be best.☺


Velour Pocket Fitted Diapers

 As with any velour diaper, this is marvelously soft, and since it's a pocket the absorbability can be customized. It looks the same size as the towel diaper (below), but I found that it didn't fit quite the same way--probably because it's a stretchy fabric whereas the other is not. My baby didn't grow into this small until he was probably 11lbs. It would have fit him in the waist before that, but he has really skinny legs and this diaper has a roomier leg opening than the other (you can see in the photo that they're still not super snug at 13lbs). If I were to order one in the future I would have it customized with snugger legs for my chicken-legged baby, but otherwise it's a darling diaper. For a chunkier kid, it would be perfect.


Towel Diapers (Fitteds)
In a fit of genius, Joy started making diapers out of soft old towels. (She's a master of upcycling things.) In her own words she is "allergic to long dry times" so she makes it with double snap-in soakers so that it washes thoroughly and dries quickly. (Forgive me, I forgot to rotate these photos, but you can still see how it works!)


Here again, she is very picky about softness--some towels are rough, but if it's one of Joy's towel diapers you can bet that it's a soft one. This diaper is terry but it feels almost like velour, and it has become one of my very favorite diapers. Actually I'm seriously contemplating buying a few more even though I don't really need more diapers! I love the sustainability and affordability of recycling old towels and bathrobes as well as the old sweaters. Plus, if there is anything a towel is good for, it's absorbing! This diaper holds up great for naps (especially when combined with some nice wool longies *wink* ) If you don't need as much absorbancy it's easy to leave one of the doublers off (I did that when my baby was still tiny), but with both of them in it would probably be great at night too.
These diapers have a separate casing which 1--keeps the bulky part of the diaper narrow and trim and 2--serves like a gusset to keep messes in. I've never had a leak with this diaper. Here is my baby in the small towel diaper when he was about 2 weeks old (9lbs). I love that it's so trim (especially for a baby that size). He's 13lbs now and it still fits him well, and I estimate it will last at least a couple more pounds before he outgrows it.


a postscript...
as I was writing I found that I kept using exclamation points...not just a few, but everywhere. Even as I tried to edit them into control, I still just seemed to need a lot of them. I guess that alone says something about how I feel about these diapers and longies, doesn't it?!

Related Posts Plugin for WordPress, Blogger...