Friday, May 6, 2011

Sleeved Bib made from 2 Washcloths

If your kids are anything like mine, they take great joy in taking off their bibs... The solution? A bib with sleeves that they can't take off!
My sister in law had a few of these and I always thought they were cool, so I picked up some dishcloths on sale and started playing around until I figured out what I was doing.

(bib is modeled on a child of about 12m and 22lbs...they still fit him fine at 18m and 25lbs, although they do not fit my 4yo who is 40lbs...just for reference)

Materials:
  • 2 washcloths (or one hand towel cut in half could do) (I found washcloths in pairs at the dollar store) From here on in, I'll refer to the sleeves washcloth as 'stripe' and the bib front washcloth as 'red.'
  • Some bias tape or cotton ribbing, at least 24" long. I cut a 1 1/2 inch strip off the bottom of a t-shirt, and didn't worry about ironing it into proper bias tape, but just rolled/sewed it down. If you're not experienced with bias tape, then using the real stuff will probably be easier. Make sure it's fat, as the washcloths can be a bit bulky.
 
1~ Cut the stripe washcloth in half from corner to corner. Many washcloths or dishcloths are not quite square--don't worry about that. It's a bib, not a wedding gown. ☺


2~ Take each of the triangles, and serge or hem across the long edge (this is the lower edge of the sleeve)

 3~ fold the sleeve in half, right side in, and sew across the corner, about 2 1/2 inches up from the tip. Cut off the pointy bit beyond the seam. Repeat with other sleeve.
Now you have the uncut red washcloth, and two sleeves.

 4~ Match up the  lower edge of each sleeve (the part where the corner got cut off) with a corner of the red bib front. Sew just the one side of each sleeve to the red washcloth. No need to finish any edges, because they are the edges of the washcloths, so they're already finished.

At this point, if your washcloth wasn't square, you will notice that one sleeve comes higher than the other. Don't worry about it. That happened on every bib I made. It doesn't matter, and it won't be noticeable in the final product.

5 ~ Cut across the corner of the red washcloth, from sleeve top to sleeve top


6 ~ Take the bias tape or ribbing, find the center, and match it with the center of your red washcloth (where you cut it off between the sleeves). Pin it first if you like, or just sew it on. Sew from the center outward on each side, with 1/4" or 3/8" seam allowance. Go over the sleeve seam and catching about 2" of the sleeve front in the tape, then have the tape go off the sleeve.

7a ~ (if you're using a strip of something rather than regular bias tape) Flip the bib over and fold the strip down in half so that the seam allowance and the strip meet in the middle.

7b ~ fold down the tape/strip onto the back of the bib, so that all raw edges are tucked inside. Sew along the edge of the tape, catching both front and back of it in the stitching. When you get out the sides (past the edge of the 2" of sleeve you caught before), then sew the tape to itself, creating a tie.


One of the great perks of using a washcloth as a bib? When the kiddo is done eating, use the bib to wipe up the tray/chair as well! That has proven to be really nice when we are away from home!

Monday, February 21, 2011

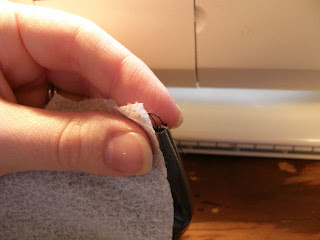
Sewing with PUL (a tutorial)

If you're wanting to make diapers, wetbags, or even snack bags with PUL, you may find that it can be a very sticky hassle to work with. Some people get a walking foot or a teflon foot, but I have never found it necessary to invest in either of those tools. Here are a few tips I DO use for sewing with PUL:

ONE ~ turn it over
Put the sticky side down. If you're working with two fabrics (say, PUL and flannel, as when making a diaper) then just sew all your seams with the flannel against the presser foot, and the sticky-side-down. Basically what this does is that it puts the feed dogs on the sticky side, so they push it on through (and it doesn't have to slide because it is 'walked' by the feed dogs).


TWO ~ force it through
If you are sewing PUL to PUL (as with a wetbag) then you can't just leave the PUL on the bottom. You can just force your fabric through (I grab it from the back and pull). Usually this gives uneven stitching (usually very small stitches since the fabric doesn't want to slide along the foot), and may push one layer of fabric off of the alignment with the other one, leading to the need to unpick (and remember the tiny stitches?!) Yeah, there is potential for much ugly here. It can really make a mess as you're figuring it out, so definitely do a few test runs. However it can be done. Admittedly, this is usually the method I use when making wetbags. (I french seam my wetbags, so I sew with the sticky to the inside first (which makes a nice normal seam, and secures the layers together so that nothing will slip around) and then I turn it inside out and do the second step of the seam with the 'force it through' method.

THREE ~ use a tissue
This is slightly more labor intensive, but is a very easy way to avoid all the problems of the 'force it through' method when you have to have the sticky side up.
First you'll need some kind of light paper. Tissue paper (as in the present-wrapping kind) can be used, or kleenex, or toilet paper... if it's a thicker one then separate the layers so you have nice thin one-ply paper (ideally it's nice to be able to see through it a little).
Do not try to do this with paper paper. It's too thick.
 
It's best to align the tissue so that it covers where the seam will be, but NOT the edge of the fabric--that way you can still follow the lines to keep your seam allowance even.

Sew right through tissue and fabric

Gently pull away the tissue--it will rip right along the seam

Use a fingernail to scrape the little stuck bits of tissue out of the stitches. If tiny particles remain, they will wash out.
Since this method only uses up the edge half inch or so of the tissue, you can get a LOT of seaming out of a single tissue. I usually use two (or the two halves of one) and just alternate along longer seams. 

Thursday, February 10, 2011

I'm Hiding I'm Hiding!

With three sons in the house, we have a lot of camo, so today's treasury is based on that.
(as always, photos link to the listings)


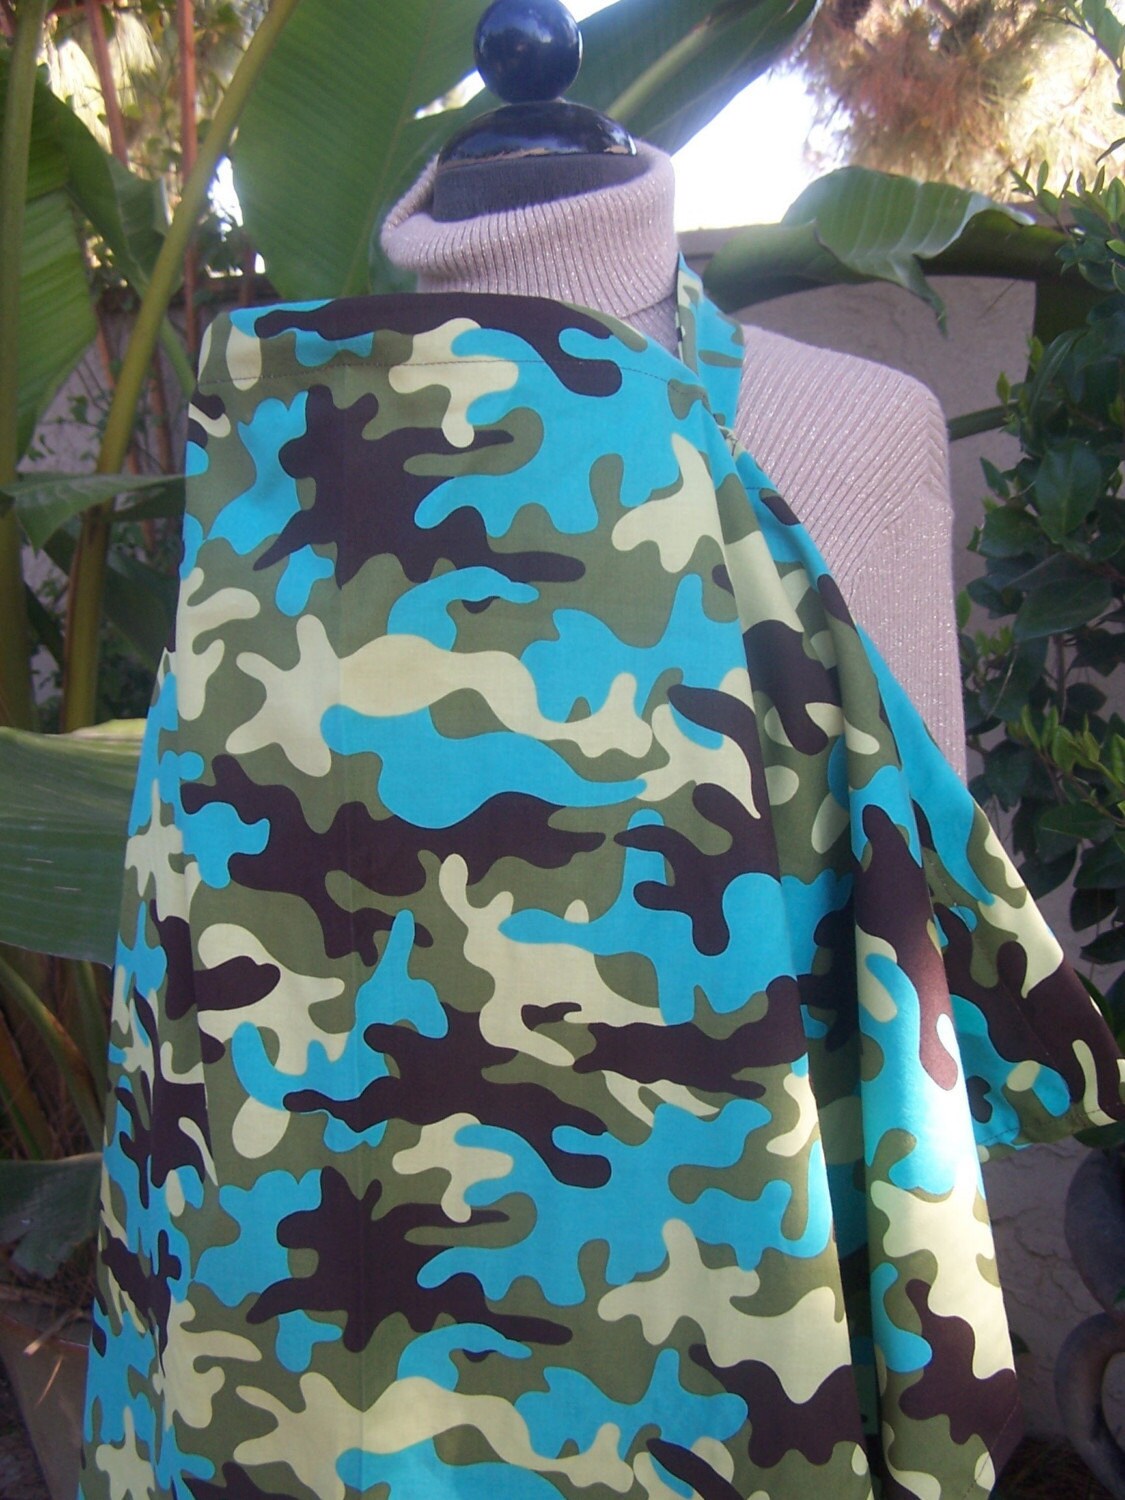
What better way to say "you can't see me" than to breastfeed with a bold camo print! (I ♥ this cover!)


No cloth-diapering houseful of boys would be complete without at least one camo diaper! (Too bad for you, I bought this one and my son is wearing it as I type...but there are others out there!)
 

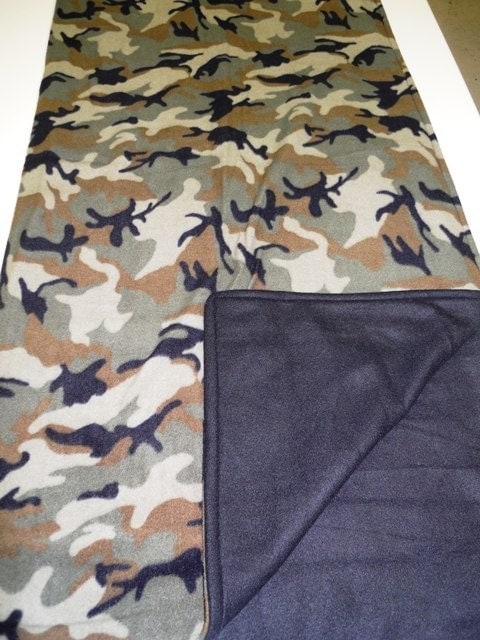
How about a nice toasty fleece blanket, perfect for all ages?!

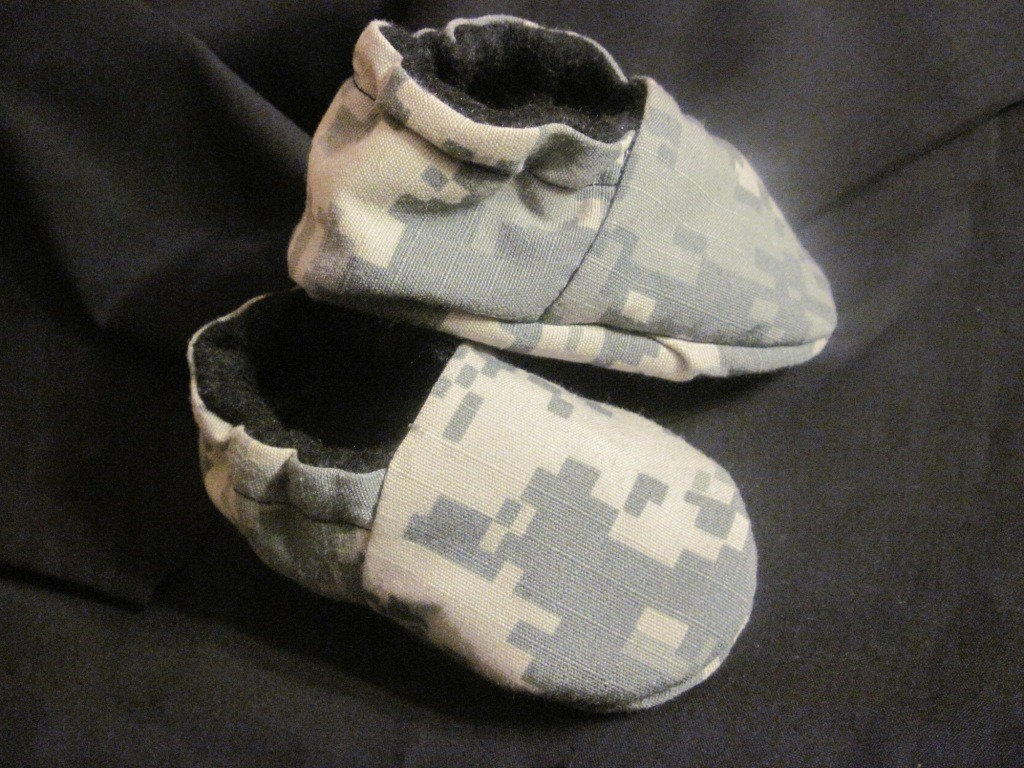
Booties...

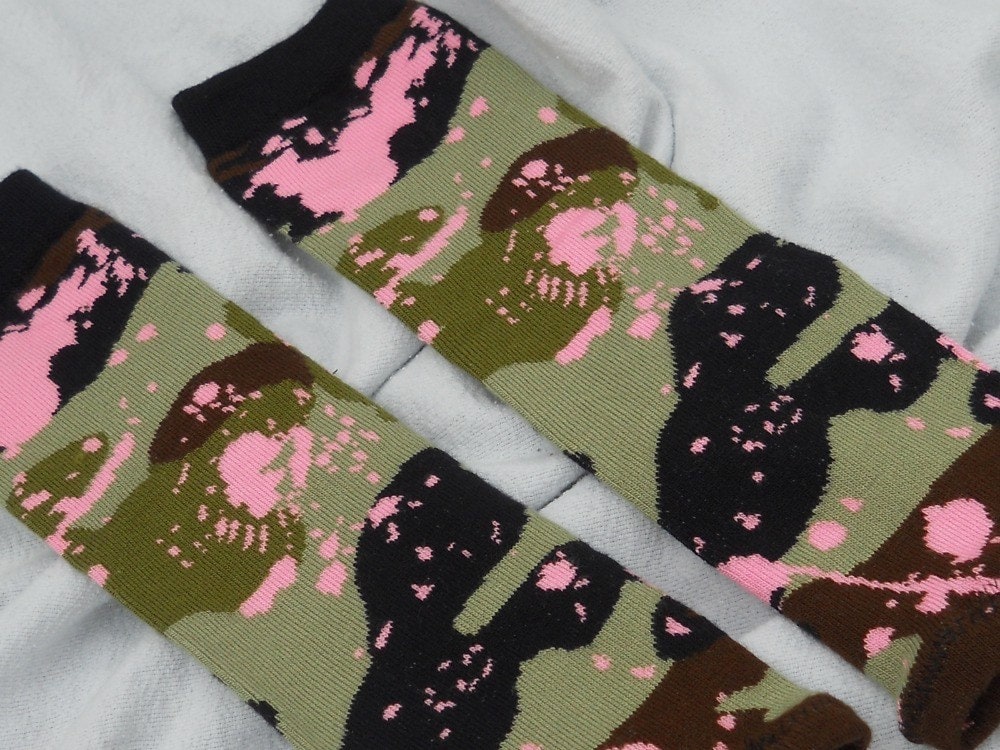
Baby legwarmers...

and for the ones who aren't so little anymore...
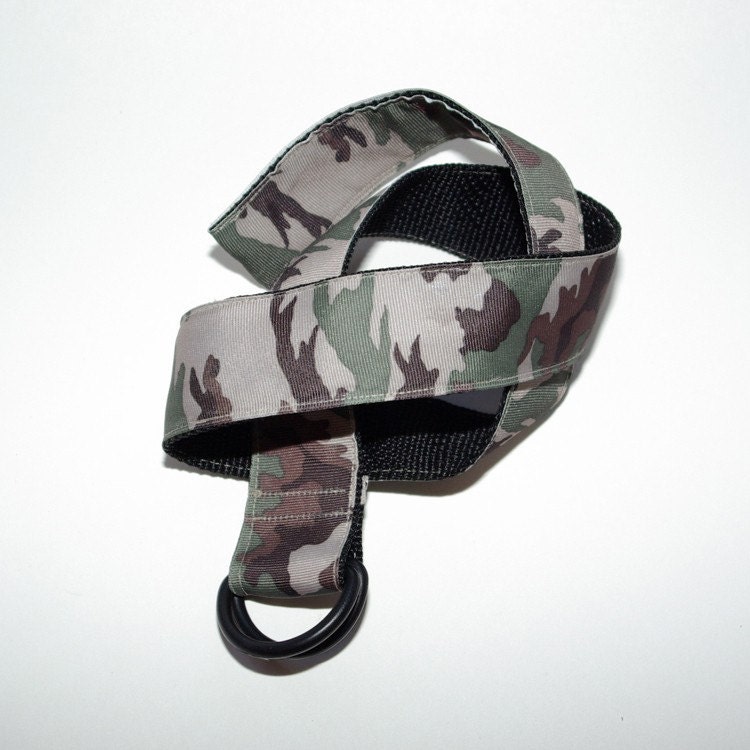
A belt (do you think this would make my waistline disappear?!)

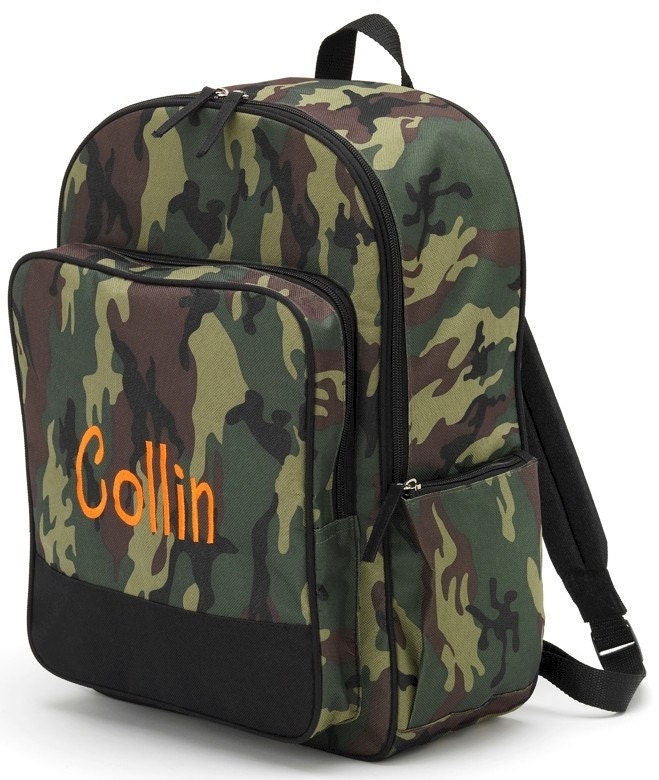
or the coolest backpack in the school!

Related Posts Plugin for WordPress, Blogger...